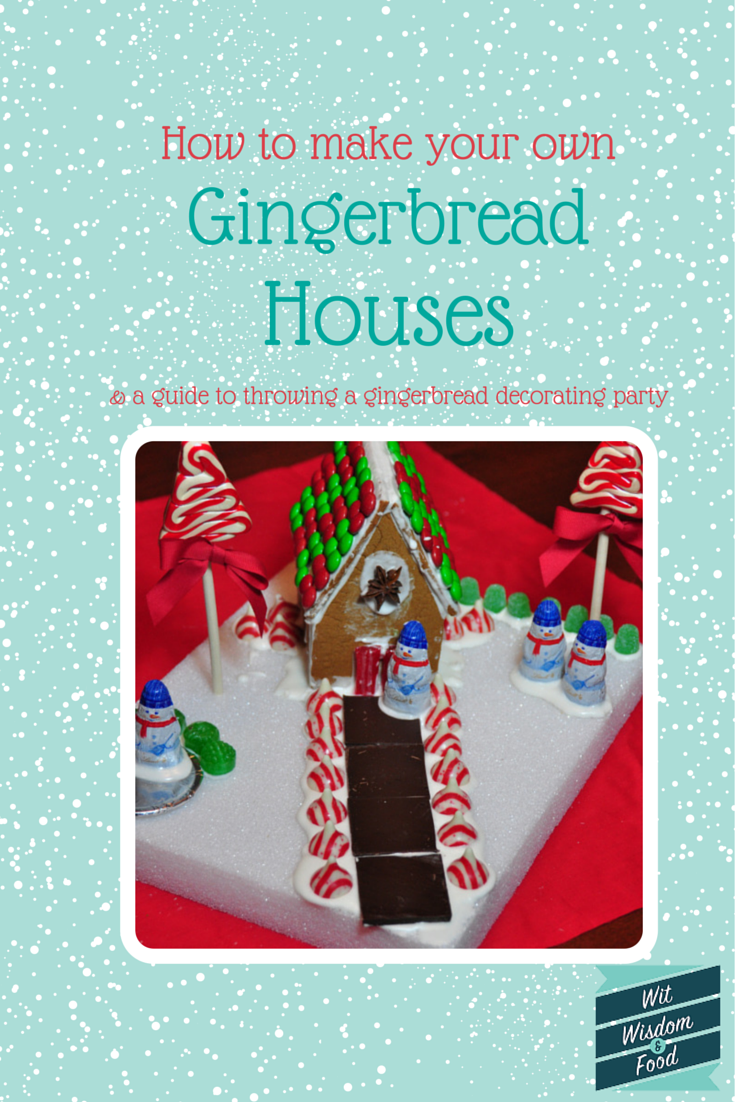
Gingerbread house decorating is a fun holiday tradition for all ages. For as long as I can remember we have been decorating gingerbread houses. We started when I was little and gave them as gifts to our teachers and neighbors. My mom was a superstar and would make large and small versions. She was the first to throw a gingerbread house decorating party and years later I carried on the idea and it was always a huge hit.
The recipe we use originally ran in a newspaper in 1979 and was intended as a microwave recipe. Not being a huge microwave fan my mom adapted the recipe and baked them in the oven.
The dough is super simple to make and takes very little time to bake. The assembly is where the time and patience come in. Making a good thick icing is the key to this being a less stressful process. Make sure your egg whites are beaten until stiff or you will have a runny icing that is better for cookie decorating than the mortar that will hold up your walls. The sides of you pieces should come out fairly straight but they do not need to be perfect. A slightly off piece will still work so don’t stress out or waste a less than perfect piece.
Once you have your pieces baked and they have cooled you can start assembly. A small piece of styrofoam is the sturdiest base, but you can use corrugated cardboard covered in aluminum foil if you want to save some money. The styrofoam runs about $5 a piece. If you purchase a large piece and cut it to the size you want you can save some money as well. My mom’s tip: if the sides of styrofoam are rough from the cut rub them together and it will work like sandpaper to smooth them out.
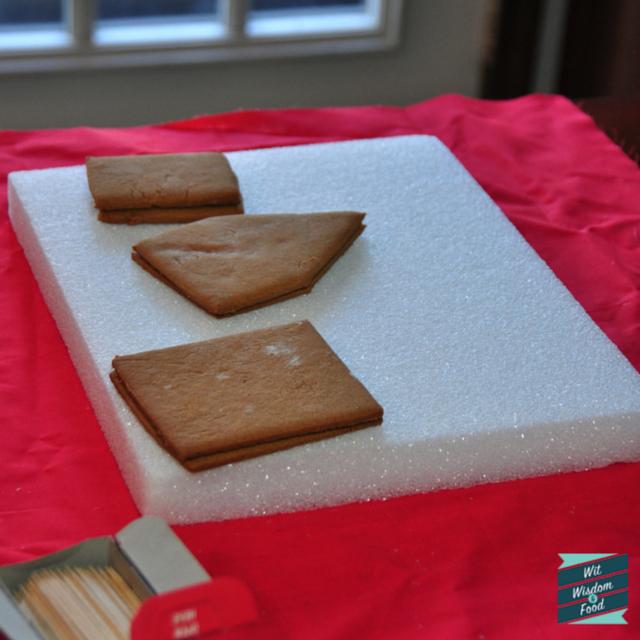
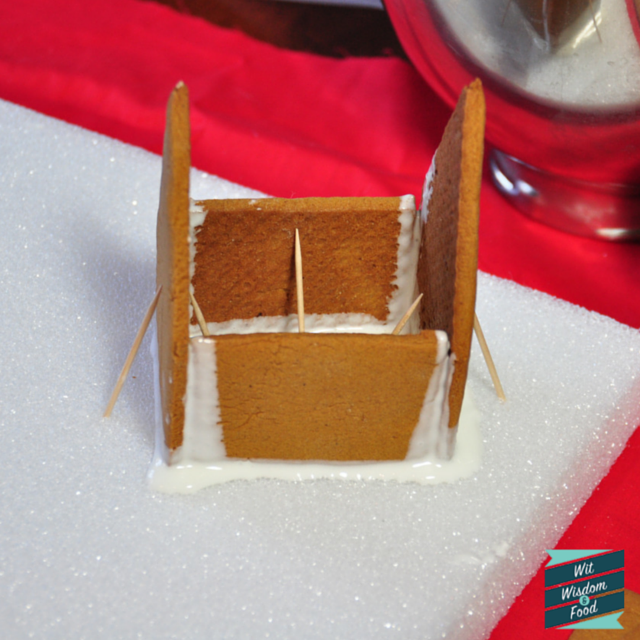
Dip the bottom of the end pieces in icing and spread a small amount on the back of the piece where the sides will touch. Dip the sides and bottom of the side pieces in the icing and attach. Use toothpicks to prop up the pieces as the icing dries. I would allow 20 minutes but check on it sooner and see if it has set.
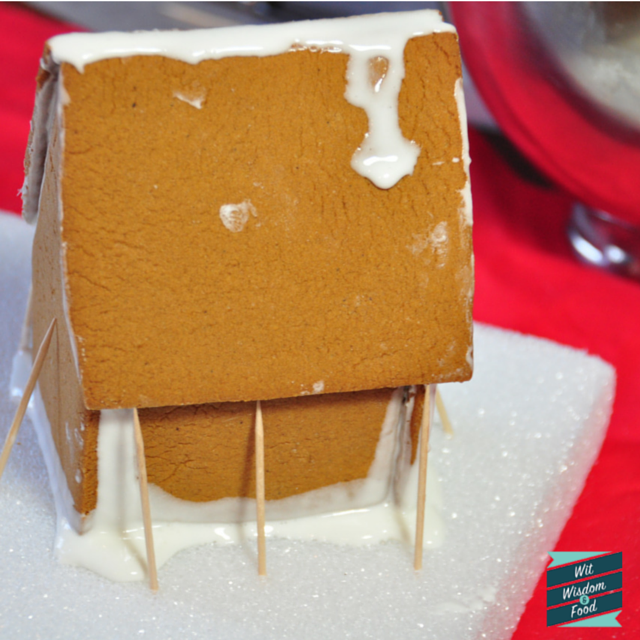
After you have the walls set it is time to raise the roof. This is a little more challenging because you are up against gravity, hence my large use of toothpicks. Paint the back of the roof where it will touch the sides of the end pieces. The thicker you made that icing the better off you will be. I was so rusty when I made this batch that it took a long time to set and was really trying on my patience. The toothpicks weren’t enough support so I had to sit and hold the roof in place until it set enough.
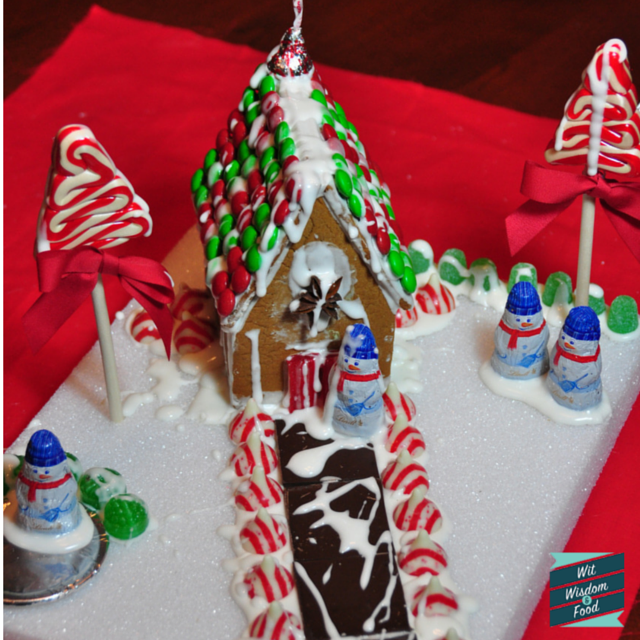
 Now that your roof is set up and the icing is dry it is time to get to decorating. There are no rules just go with it. Unleash your inner child and get to work making your masterpiece. This really isn’t a beauty contest, as you will see in my last picture, it is meant as a fun holiday activity so don’t worry about splatters and drips of icing. Just let it go or cover it with a piece of candy.

Once you have finished decorating it is time to play mother nature and bring in a little snow storm. Grab a knife or whisk and dip it in your icing and drizzle it over the house. If your icing doesn’t drizzle well add a little bit of water to the icing to thin it out just enough to drizzle easier.
Remember I was talking about how important it is to make sure your icing is thick so it will hold things up? That star anise “wreath” above my door is the perfect example. I tried holding it, blowing on it and every combination in between to get it to stick. My patience was no match for gravity and the result is a house that is likely the worst house on the block. I dreaded sharing this but here it is flaws and all. Otherwise, I thought my family of snowmen looked very happy at their little home.
How to throw your own Gingerbread decorating party
Weeks before the party
- Make your guest list. The easiest way to have multiple people decorate houses is to make and assemble the houses before your guests arrive. So be realistic with your guest list and think about asking couples to collaborate.
- Send out your invitations and ask each person to bring at least one bag of candy to share
- Bake the gingerbread you need to make the houses. You should get at least 6 houses out of a batch
- See if any of your guests have a mixer they can bring to help with mid-party icing prep
Day (or a few days) Before
- Get some decorating essentials like M&M’s, hard candies, kisses and gumdrops in case your guests forget to bring a bag
- Grab some plastic knives for icing spreading
- Buy cartons of egg whites. This will speed up icing making by eliminating the step of separating egg whites.
- Buy more powder sugar than you think you will need. It stinks to run out of icing in the middle of decorating.
- Make chili, stew or any large quantity, easy to reheat dish
Day of Set up
- Cover your table with newspaper to make clean up easier and set a house at every seat
- Place small paper bowls on the table to fill with candy
- Set whatever decorating supplies you bought in the middle of the table
- Reheat the dinner before your guests arrive
During the party
- Make the icing. Because it dries out so quickly you will need to make it at the last minute. One batch of icing should cover 2-3 houses
- Put a small bowl of icing and a plastic knife next to each house
- Depending on how many mixers you are using you might need to replenish the icing throughout the night
Click on the image below to download the template and recipe

I am linking this up to Dare to DIY, the link party that got me back into blogging two years ago. These are some of my favorite DIY bloggers. I hope you click over and enjoy some of the other projects.
0





What fabulous party idea. I have thrown one of these before and they are so much fun. We used up all the Halloween candy for this. Love your planning schedule Anne!
You have a lot of will power to have halloween candy leftover for this! We never have any laying around and I am always at the store buying more.
What fun! It’s been entirely too long since I made a gingerbread house OR went to a gingerbread house making party, and I think this needs to be fixed ASAP. Great ideas and something fun for both adults and kids!
It is a lot of fun for adults and kids. Glad I gave you a little inspiration.
What an awesome party idea! Your house must smell amazing after baking all the pieces!
It certainly provides a nice Christmas feel at the house with the smell of gingerbread in the air!
Gingerbread houses are so fun and my secret weapon for getting rid of that pesky Halloween candy that no one wants to eat. Love this party idea!
My husband eats the halloween candy well before I can think about gingerbread houses. Though if I made my gingerbread houses while we still had halloween candy it would be one less task for December!
I want to COME to a gingerbread house decorating party. I’ve only made a gingerbread house once and it didn’t go well. But now i have your tips.
I bet you could make it work. Maybe you could adapt it and make them barns and turn it into Henry’s next birthday party. Decorate with candy corn and animal crackers!
Michelle: Life in Training says
The Mayor has been asking to do this. I think we will start with the lazy mom’s version with Graham crackers!
Graham cracker houses look harder to me because they seem so fragile. I was lazy last year and did the kits from Trader Joe’s and they were very simple.
Can you believe I’ve never made a gingerbread house before? I should get on that. Great party tips!
I will warn you it is a messy project! Don’t forget the newspaper or plastic table cloth. Would make for a cute craft night for you and all the girls though.
What a great idea - and fun for kids of all ages 🙂
Thanks Jess. I love it and it is fun to watch the big kids get so into it!
My kind of party!
It will be perfect when your littles are a little older.